
Referred by a family member, I have opted a local brand of soundproofing material called Mohawk (MD Full Kit) after being convinced it has the quality comparable to that of Dynamat but retailed at a cheaper price.

Priced at RM480 per box of 10 sheets, I bought two boxes. Each box weighs approximately 18kg.

The day started off by stripping the inside door panels to have access to the inside skin of the door.

The plastic protecting the electronics from rainwater were stripped off, while the speakers and power window instruments were disconnected from its wires.

Small strips of the material were inserted separately due to the limited access into the door caused by the power window mechanism. Removing the complicated mechanism seems risky, thus avoided.

To reduce vibration between the plastic and metal parts of the door, small strips of soundproofing material were placed at areas where contact is most possible (highest points). The same was done on all four doors and the boot. This dampened the vibration on the doors significantly, eliminated the 'tin kosong' noise, and reduced the panel vibration emitted from the speakers.
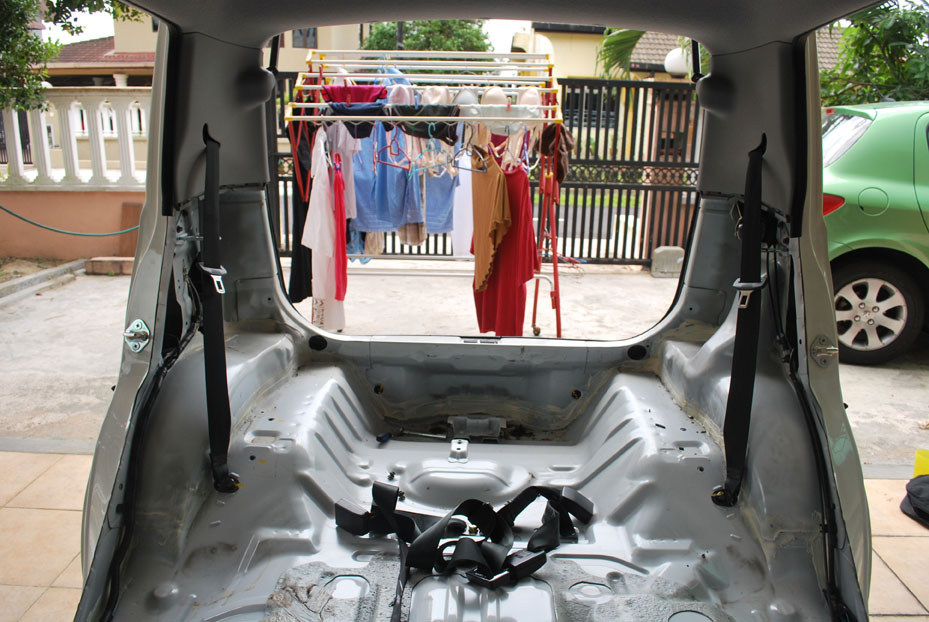
Done with the doors, the rear section of the cabin was stripped with ease.

Being a cheap and cheerful auto, Perodua had not bothered to stick any sound dampening material to the bare metal.

With an abundant of material left, we decided to Mohawk the whole rear part of the cabin. As a result, road noise from the rear end was significantly reduced.

The mid rear to front of the cabin is covered with a thick carpet as stock, which helps dampen road noise.

However this along with the placement of stock sound deadening materials (light grey) on some parts of the metal is insufficient.

The material was applied to the bare parts of the floor. It is important to cover the holes to avoid noise from entering the cabin. Precautions were made during application to ensure wires do not end up being buried underneath the material.

The car feels significantly quieter after having applied sound deadening materials on all four doors, the inside cabin, and the boot of the car. The experience of being in the car is quieter, therefore much more comfortable and feels comparable to the cabin of an imported car. My 'normal' volume for the radio is tuned down several notches and a conversation between passengers is possible without the need to raise one's voice while travelling at higher speed.
I would like to thank my father who led and suggested this 'summer project', furthermore for having sacrificed blood and sweat into making my car much quieter. Overall, I am satisfied with the results brought by the materials applied and therefore would recommend it to the owners of Perodua Vivas out there.


